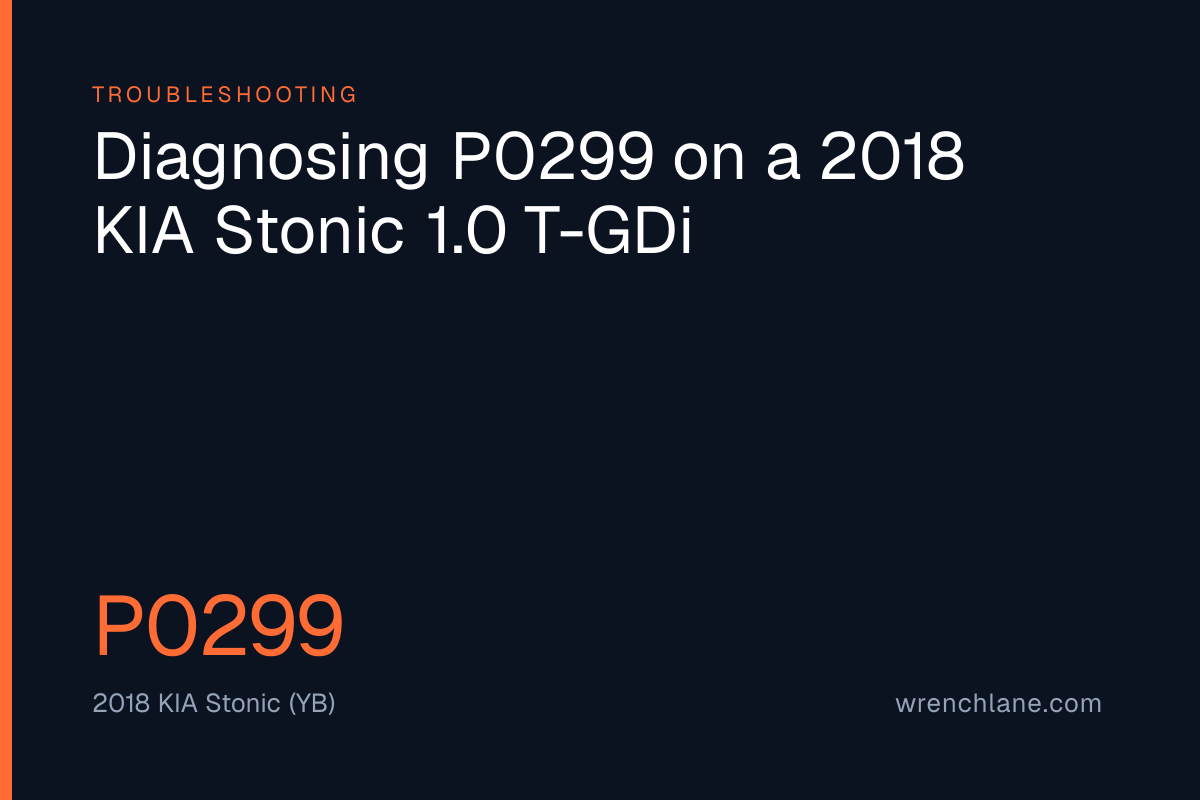
A 2018 KIA Stonic arrived in a UK workshop with a single P0299 code for a turbocharger underboost condition. This is the kind of vague code that can lead a technician on a wild goose chase, replacing expensive components when a simple hose split is to blame. The technician recorded the basic facts, noting the code and a general lack of power.
When pressurized air escapes or fails to build up, the Engine Control Module detects that the actual boost pressure is significantly lower than the target pressure. The turbocharger might be functioning perfectly well on a mechanical level, but the engine still cannot receive the commanded amount of air for combustion. To prevent unnecessary parts replacement, our platform analyzed this specific fault profile for the KIA Stonic (YB) chassis and ranked the most probable causes.
The Primary Suspect is a Boost Leak
Our diagnostic engine ranked charge air system leakage as the most likely cause, assigning it a 90 percent probability with a medium severity. For the 1.0 T-GDi (G3LC) engine in this vehicle, small splits in rubber charge hoses are common triggers for underboost codes.
This leakage includes cracked or split intercooler piping, loose clamps, or damage to the intercooler itself. As the crack gradually worsens or a clamp loosens over several months, the lack of power during acceleration becomes undeniable.
The testing sequence for this stage is purely physical. The technician must first perform a visual inspection of all charge air hoses, intercooler piping, and connections. Look for visible cracks, splits, or loose clamps. Next, conduct a smoke test on the induction system to pinpoint the exact locations of any leaks. Finally, listen for hissing noises under engine load that indicate air escaping under pressure.
Electronic Wastegate Actuator Malfunction
If the induction system is sealed, the next logical step targets the wastegate actuator. Our platform ranked an electronic wastegate actuator malfunction at 85 percent probability.
The 1.0 T-GDi engine uses this electronic actuator to regulate boost pressure by controlling the flow of exhaust gases to the turbine. If the actuator malfunctions, becomes seized in an open or partially open position, has binding linkage, or loses its calibrated zero position, the wastegate will not close properly. This prevents the turbocharger from building the commanded boost pressure and directly sets the P0299 code.
Testing the wastegate involves both mechanical and electronic checks. First, manually check the wastegate actuator rod for smooth movement and binding. Then, inspect the electrical harness and the connector for the wastegate actuator to rule out a wiring fault. Finally, hook up a scan tool and monitor the wastegate position and duty cycle during acceleration.
Sensor Errors and False Readings
Sometimes the mechanical components are fine, but the system is blind to what they are doing. A faulty Manifold Absolute Pressure sensor or boost pressure sensor ranked as the third most likely cause at 75 percent probability.
The engine control module relies on this sensor to accurately measure the actual intake manifold pressure. If the sensor provides incorrect or erratic readings due to contamination, corrosion, or an internal electronic failure, the system falsely interprets a lower than expected boost pressure. This triggers the underboost code and alters the air-to-fuel ratio, leading to a noticeable loss of power.
To rule this out, compare the live data readings of the MAP sensor with the barometric pressure sensor while the engine is off. The readings should match. Perform an electrical test of the MAP sensor using a multimeter and a vacuum pump to verify it responds correctly to pressure changes. A visual inspection of the sensor for physical contamination is also required.
Turbocharger Mechanical Failure
Mechanical failure within the turbocharger unit itself is the least likely cause on our list, ranked at 60 percent probability, though it carries a high severity.
Components like bearings can wear out, leading to excessive radial or axial shaft play. This wear allows the compressor or turbine wheels to rub against their housings, drastically reducing efficiency. Furthermore, damaged impeller blades from foreign object debris or metal fatigue can reduce the compressor’s ability to move air. This type of failure results in a direct and severe loss of power.
Testing for this involves inspecting the turbocharger shaft directly for any radial and axial play. The technician must visually inspect the compressor wheel and housing for damage or signs of rubbing. It is also necessary to check for the presence of oil in both the intake and exhaust sides of the turbocharger, which often indicates bearing failure.
Next Steps for the Workshop
Approaching a P0299 code methodically prevents a workshop from throwing an expensive turbocharger at a car that only needs a rubber hose or a sensor. By starting with the charge air system and moving through the wastegate, sensors, and finally the turbocharger internals, a technician can isolate the fault with confidence.
If you run a workshop and frequently encounter underboost codes on modern small displacement engines, I would be curious to hear if your diagnostic paths mirror these probabilities.
Reference pages for the codes in this article
- P0299, what we measure for this code across real diagnostics